
How to Film a Documentary Part III: Post-Production
- Desertsage Seals
- Dec 31, 2024
- 4 min read

In a previous post we discussed the beginning steps of filming a documentary. From concept development to scripting and storyboarding, we covered all the need-to-know essentials of getting started on your own professional-level production. Whether you’re using a cell phone or a high-end mirrorless camera, the basics are applied the same in this easy-to-follow guide, How to Film a Documentary Part I: Pre-Production.
Secondly, we discussed the essentials of filming and capturing professional-level images, interviews and narrative that can be spliced together to turn out an engaging and entertaining production. From the practical use of equipment to cinematography, you can learn everything you need to know in this quick and easy guide, How to Film a Documentary Part II: Production

Post-Production
This is the phase where the raw footage is edited, refined, and finalized. This is where long and boring scenes can be cut, re-cropped and spliced together into a sequence that can be engaging, impactful and motivating. It’s essential for shaping the final narrative, pacing, and overall tone of the film.
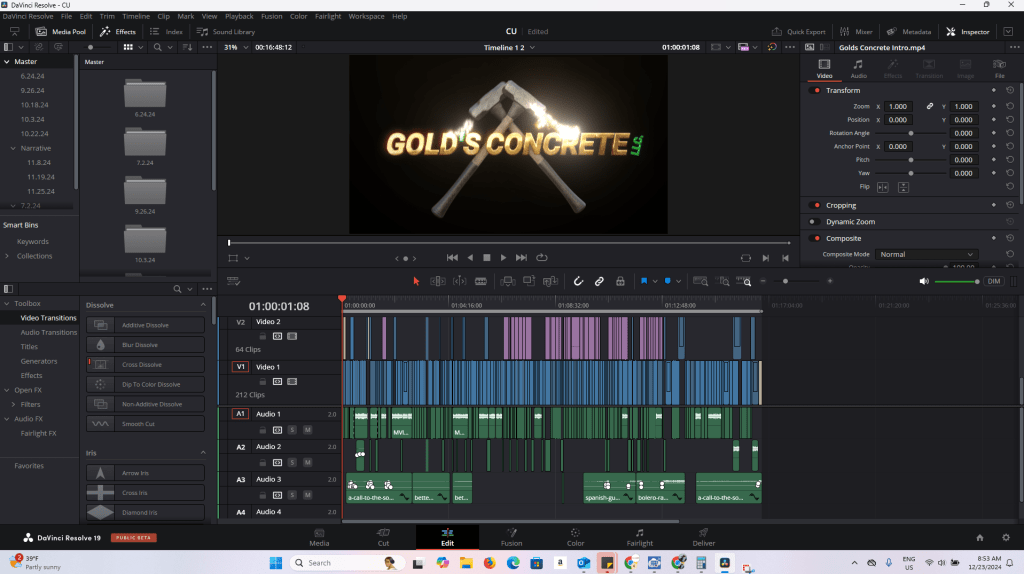
Editing Software: There are many forms of editing software ranging from very basic and user-friendly programs that come included with the apps on your cell phone all the way up to professional-level programs that are used in Hollywood movie productions. As long as you have some basic computer literacy, professional video editing software does not require a great deal of special knowledge to operate.
If you have a computer that you can play video games on then it’s most likely that computer is also capable of video edit software, and the learning curb doesn’t have to be extensive. Watch a five to ten-minute training video or two and you can learn to cut, crop, color correct and add, adjust or remove audio. All of this can be done at low to no cost with software such as Davinci Resolve or Adobe Premiere Pro.
Cut: Cut your scene at every two to three seconds. Switch to a different angle or cut away to a different scene even as the audio or narrative continues, then come back to your subject. This will make your video more interesting and keep the viewers engaged. Just make sure your “cut-aways” follow a logical sequence and keep in line with the narrative or the story.
Video transitions are a great way to cut from one scene to the next as long as the transition adds to the story and doesn’t take away from it. For example, a dip to black can indicate the passing of time as in from one day to the next, but shouldn’t be used for every cut. Wild transitions such as one scene twirling out and another scene twirling back in, even though they might seem cool in the moment of editing, should be avoided if you’re hoping to achieve a professional level documentary.
Notice that scene transitions in movies or professional level documentaries are mostly a basic cut from one scene to the next. It follows a logical sequence and the viewer is hardly aware of the changing of the scene.


Example of a post-production cut from conference table to close-up of objects on the conference table.
Audio: Whether the narrator is whispering or yelling, the audio throughout your entire video should be kept at an even volume. This can be adjusted in your editing software. The viewer should not have to adjust the volume in order to get a good viewing/listening experience.
Add light background music to the pace and tone of the documentary. If it’s an upbeat and cheerful story, then add upbeat and cheerful music. If it’s more pensive or slower paced, then add slower paced or softer music. Don’t allow the music to overpower or take away from the picture. The music should be barely audible in the background if someone is talking, and only come in slightly louder at key points.
Add sound effects only when and if appropriate. Notice that most professional documentaries incorporate very few special effects and rely mostly on natural sounds and effects of the environment.
Titles: Introduce your subjects with professional looking titles. For example Carlos Pedrozza, Project Manager will appear on screen as this person appears in the scene. There are many pre-set effects to get the best looking title to go with the picture. Just make sure the font isn’t too big so that it doesn’t overpower the scene. In the lower left corner is usually a good place for titles such as name and company position to appear, depending on other elements within the picture.

Crop: This goes along with framing. If there are any scenes that did not get properly centered or framed while doing the filming, now is your chance to correct that. Use the editing software to zoom and/or recenter your subjects. Keep it simple and don’t get carried away with cropping in too close or adding abrupt movements in post production because the picture will begin to lose it’s quality.
Color Correct: Some editing software is equipped with filters that can quickly and easily correct the color of your picture, but others are slightly more complex. If all of the video clips were filmed/recorded on automatic settings, this should hardly be a problem. Just try to keep the brightness and hues consistent throughout the scenes.
See our most recent documentary in the video below.
Finding this information helpful? Dig into our blog and find a wide variety of useful tips on topics ranging from film and photography to crawlspace conversions and everything in between. Cost of Complete Driveway Repair and Replacement in Westminster, Colorado is educational and informative. Finding Opportunity in Adversity: A Personal Journey is introspective and analytical.


Sanford Pharmacy also supports heart health with ezetimibe 10 mg, a medication designed to lower bad cholesterol (LDL) levels. It works by reducing cholesterol absorption in the intestines, helping to prevent heart disease and improve long-term cardiovascular wellness.